Projector Installation and Setup
Setting up a projector can transform your home or office into a cinematic experience. Whether for presentations, movie nights, or gaming, knowing how to install and configure your projector is essential. This comprehensive guide provides step-by-step instructions to help you successfully install and set up your projector.
Key Takeaways
- Choose the right location for your projector.
- Understand the different mounting options available.
- Follow proper connection setups for audio and video.
- Calibrate your projector settings for optimal performance.
- Consider using a projector screen for the best image quality.
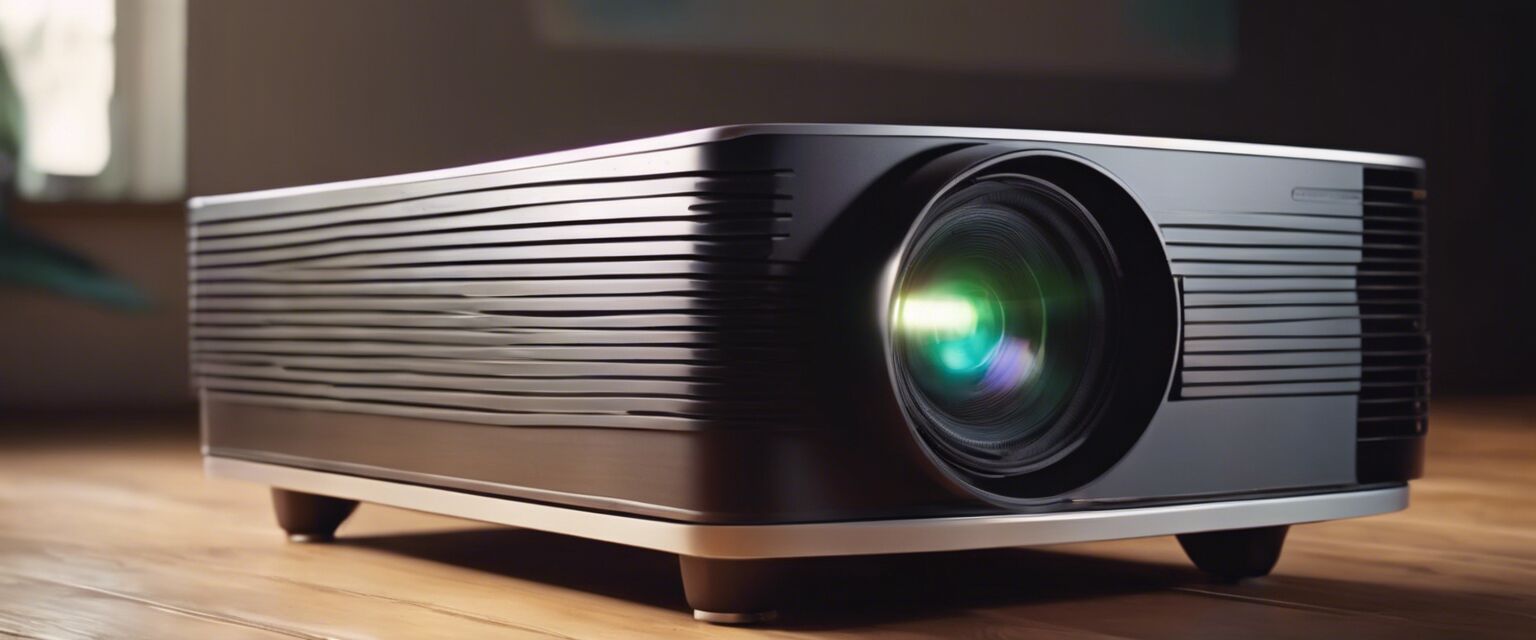
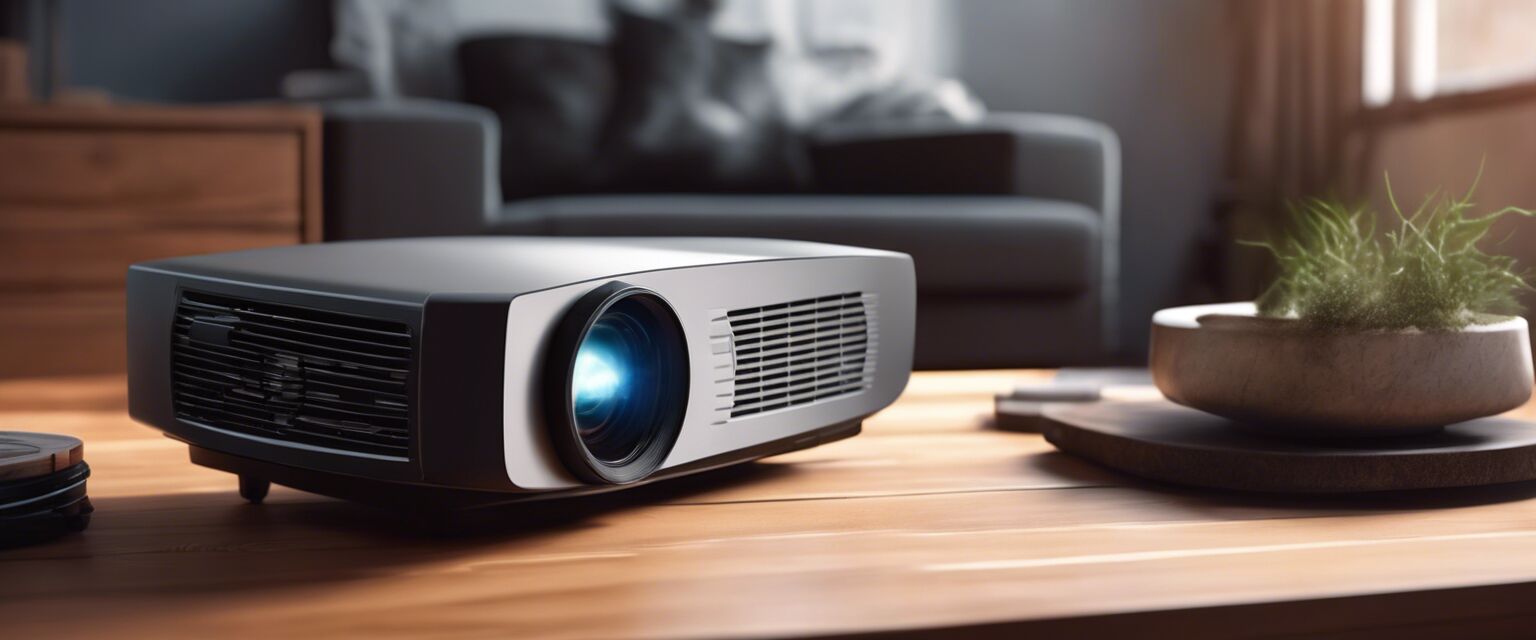
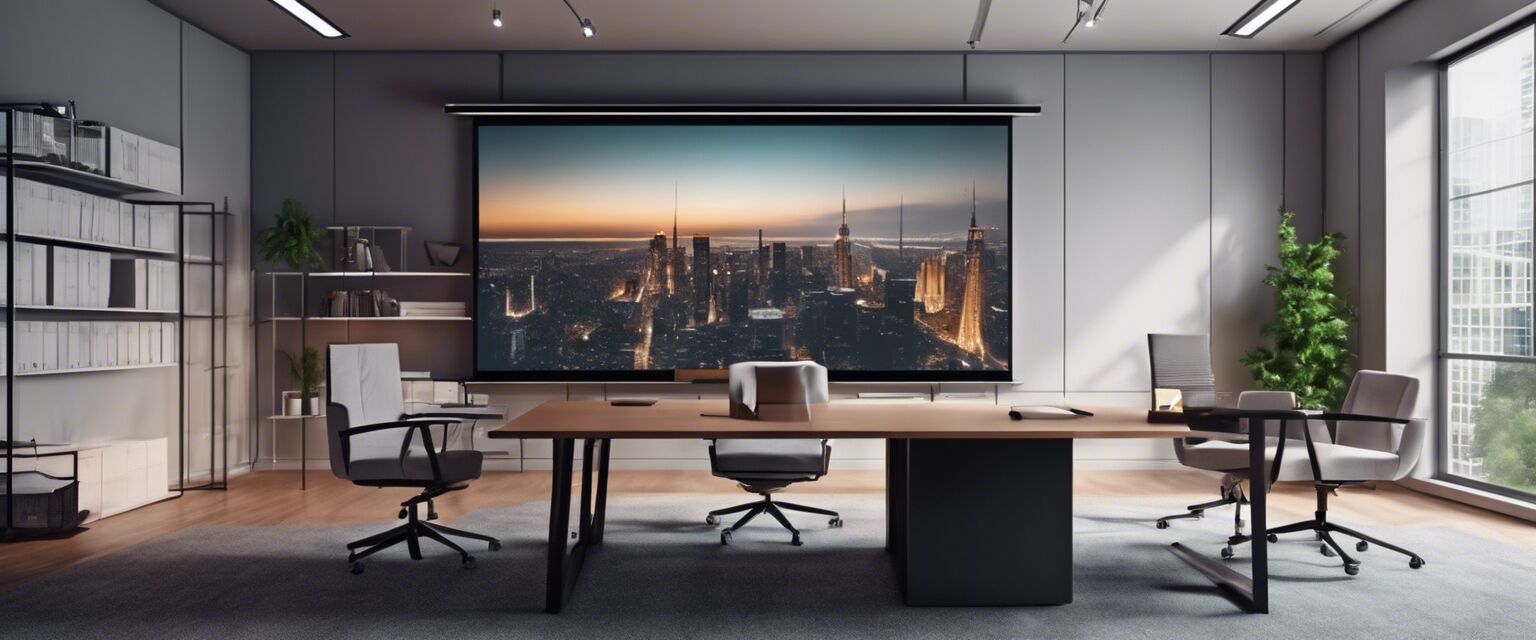
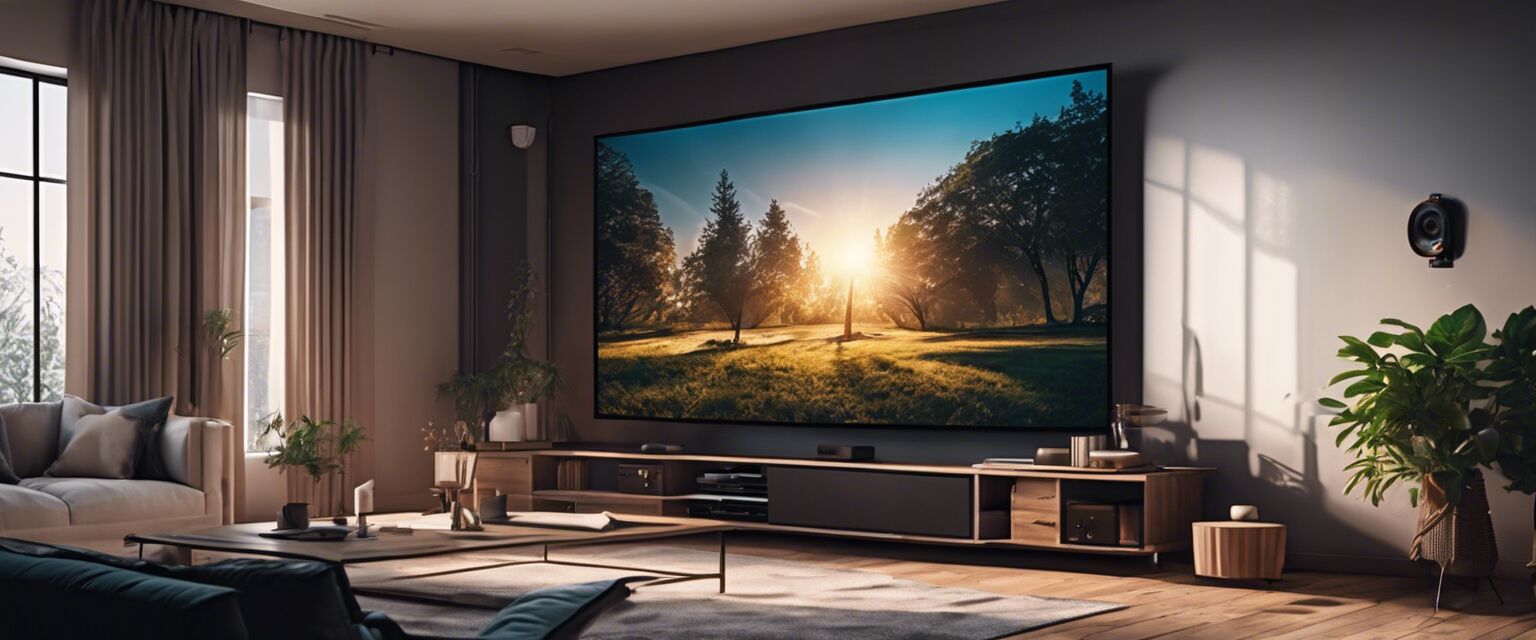
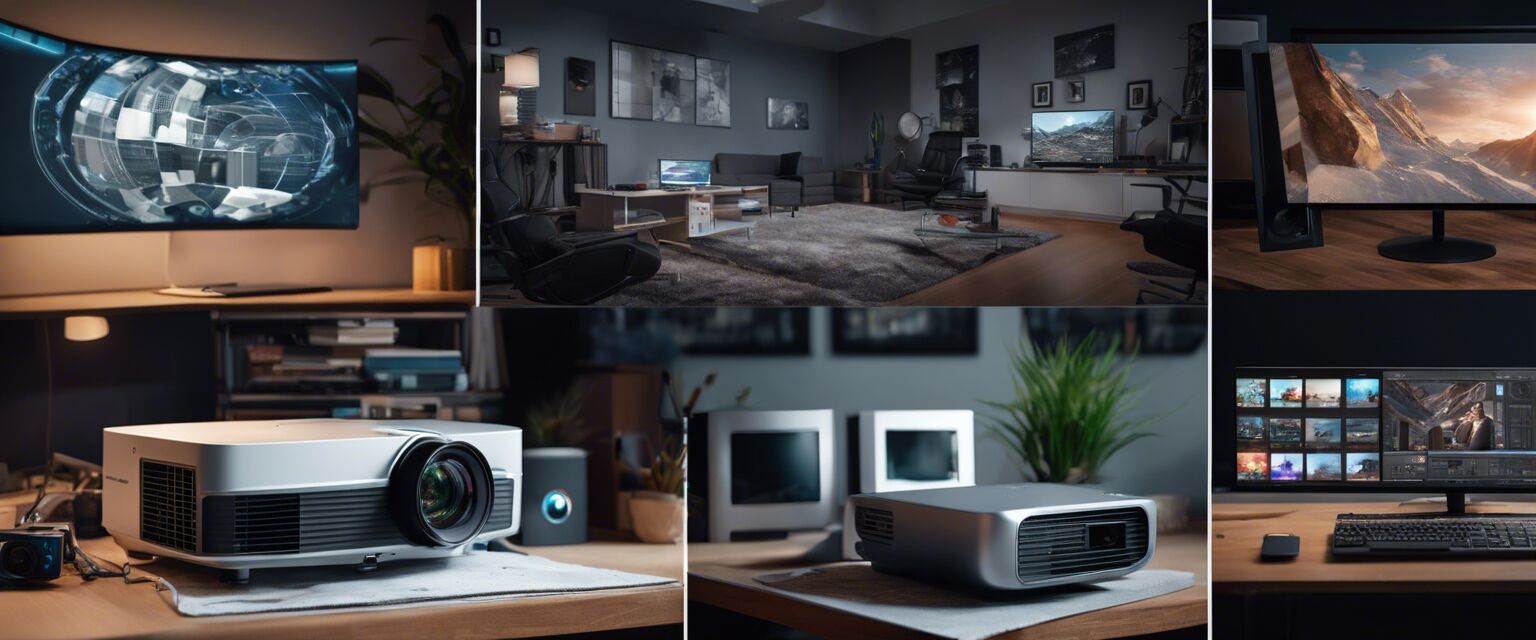
1. Choosing the right location
Before you begin, decide where to place your projector. Here are some commonly recommended locations:
| Location | Pros | Cons |
|---|---|---|
| Ceiling Mount | Space-saving, great for larger rooms | Complex installation, requires tools |
| Tabletop | Easy to set up, portable | Requires space, may obstruct view |
| Wall Mount | Stable, permanent setup | May limit flexibility in placement |
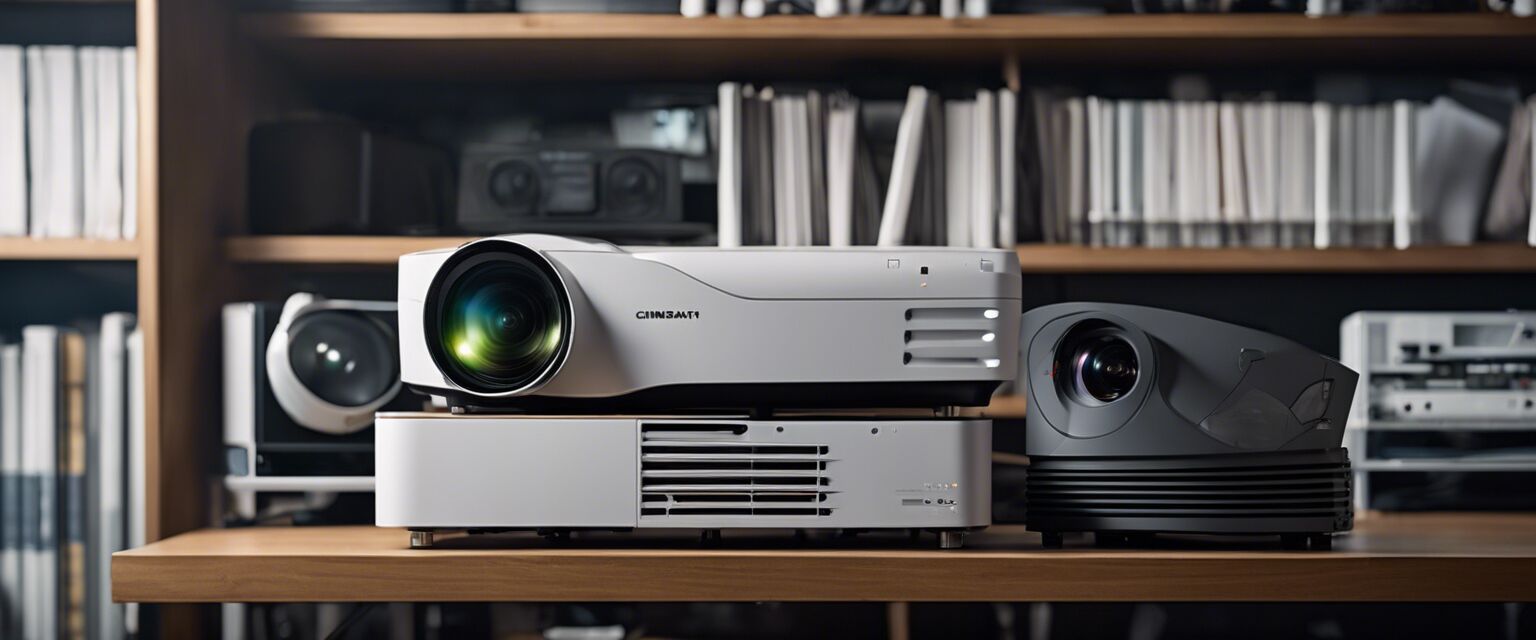
2. Mounting options
Choosing the right mount for your projector is crucial. Here are some popular options:
- Ceiling Mounts - Ideal for permanent installations.
- Wall Mounts - Great for small spaces.
- Table Stands - Flexible and easy to adjust.
- Portable Stands - Perfect for outdoor events.

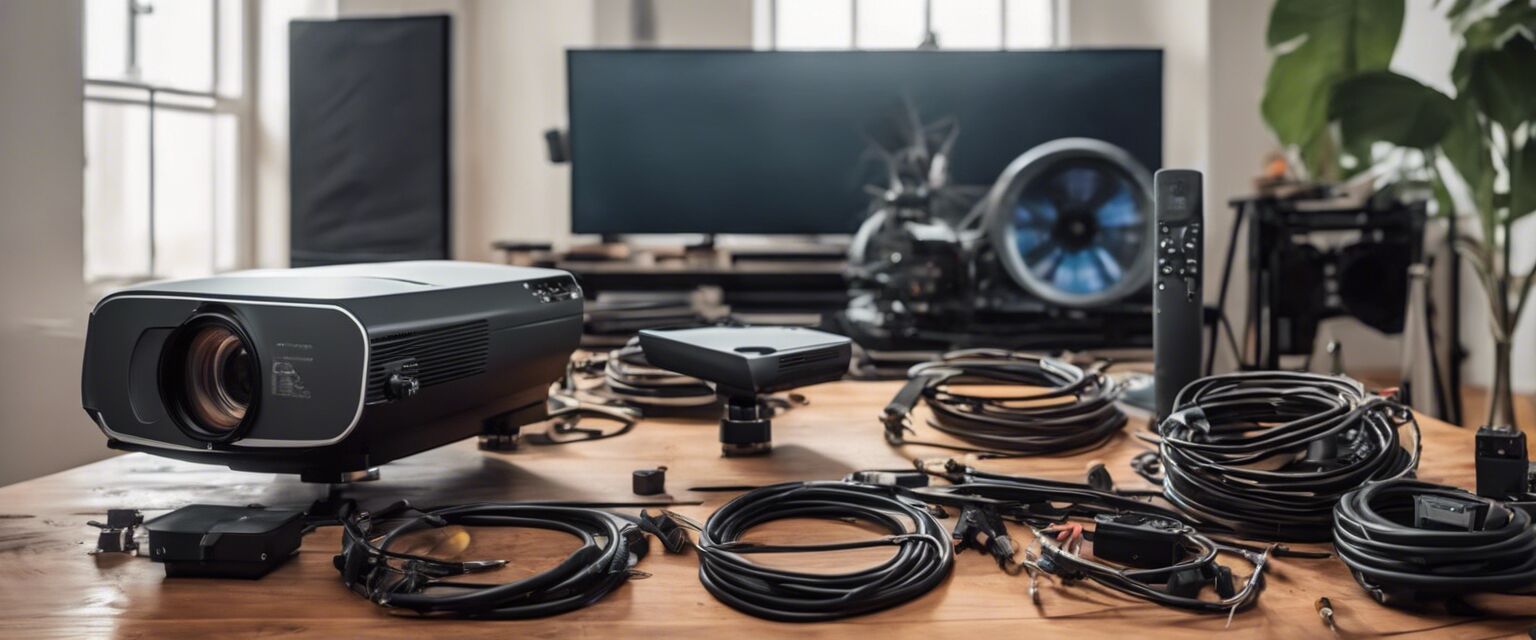
3. Connecting your projector
Once you've decided on a location and mount, it's time to connect your projector. Follow these steps:
- Connect the power cable to the projector and plug it into an outlet.
- Use an HDMI cable to link the projector to your video source (laptop, media player, etc.).
- If using external speakers, connect them to the audio output of the projector.
- Turn on the projector and your video source.
4. Calibration and adjustments
After connecting your projector, you'll need to calibrate the settings for the best viewing experience. Here's how:
- Adjust the focus using the focus ring on the lens.
- Position the projector to ensure the image fits the screen properly.
- Use the zoom function to adjust the image size.
- Change the aspect ratio to match your content.

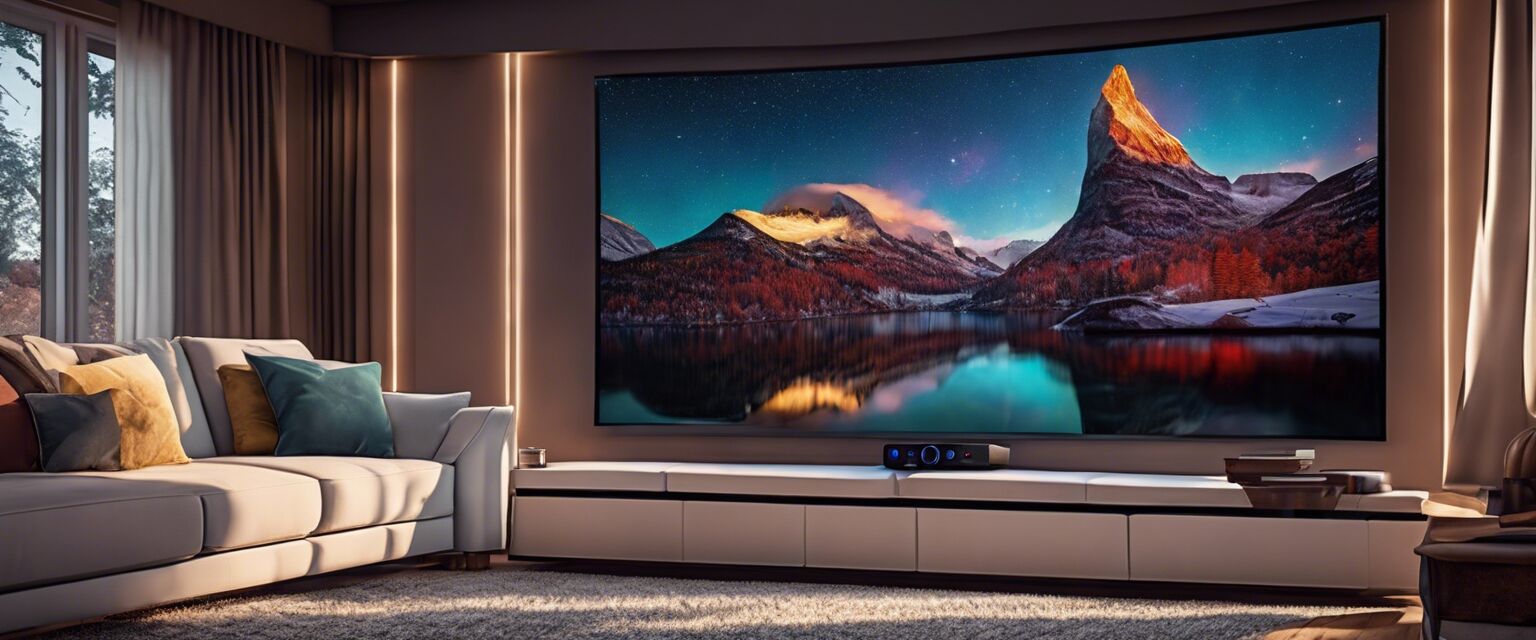
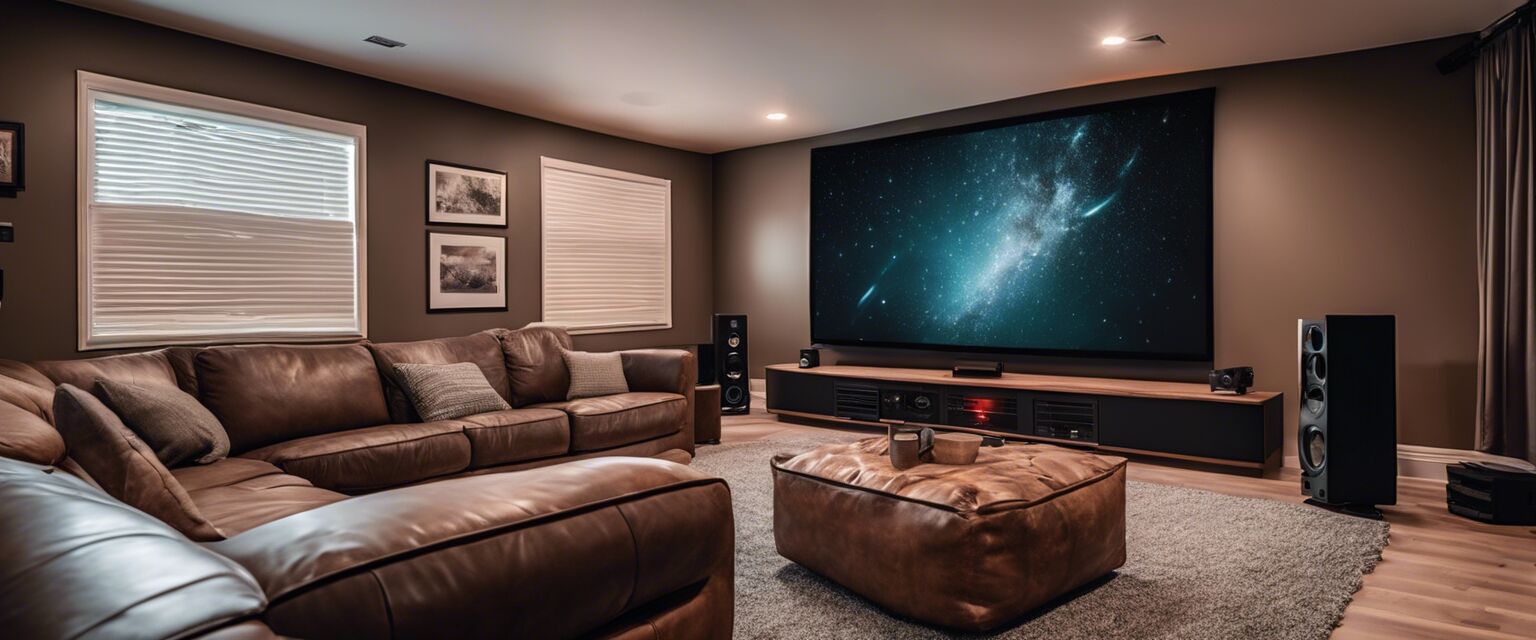
5. Using a projector screen
For optimal viewing quality, consider using a projector screen. Here are some options:
| Screen Type | Benefits | Considerations |
|---|---|---|
| Fixed Frame | High-quality image, permanent solution | More expensive, not portable |
| Retractable | Convenient and space-saving | Potential for wear over time |
| Portable | Great for outdoor use | Less stable, may require setup |
6. Troubleshooting common issues
If you encounter problems during installation, consider these common issues:
- No image displayed - Check power connections and input source.
- Poor image quality - Adjust focus and ensure the correct resolution.
- Audio issues - Check audio connections and settings.
7. Maintenance tips
To keep your projector running smoothly, follow these maintenance tips:
- Regularly clean the lens with a microfiber cloth.
- Keep the projector in a dust-free environment.
- Check and replace the lamp as needed.
- Update firmware periodically to improve performance.
Tips for beginners
- Start with a smaller room for practice.
- Use a tripod for portable projectors.
- Always test your setup before an event.
- Consider lighting conditions when choosing a location.
Pros
- Enhanced viewing experience for movies and presentations.
- Flexible setup options for various environments.
- Portability allows for outdoor and mobile use.
Cons
- Can require a significant investment in equipment.
- Installation may require technical knowledge.
- Image quality can be affected by ambient light.
For more information on specific types of projectors, check out our guides on home theater projectors, office projectors, and outdoor projectors.
With the right setup and adjustments, your projector can deliver an incredible viewing experience. Follow the steps outlined above, and you'll be ready to enjoy your favorite movies, games, and presentations in no time!